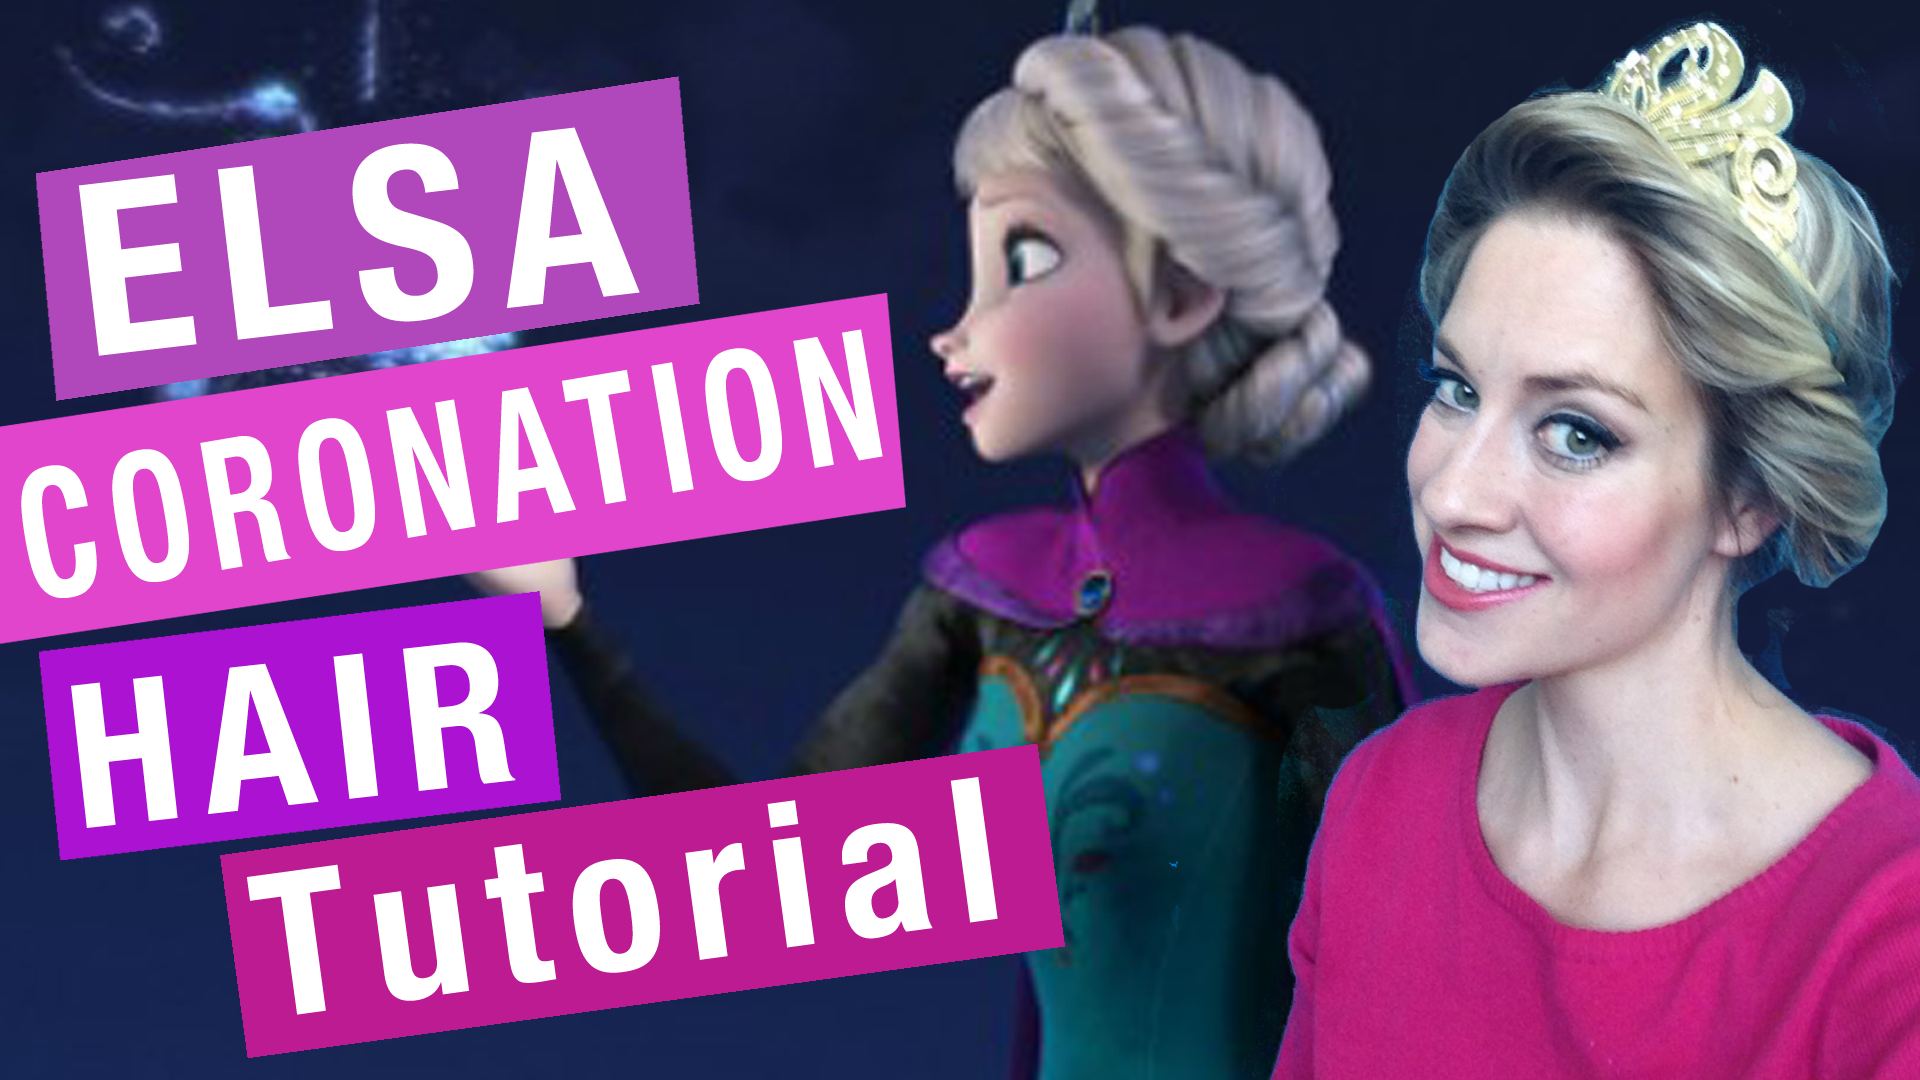
Many of us have been drooling over Elsa’s famous coronation hair ever since we saw Disney’s Frozen It’s a classy twist that is perfect for formals, proms, or even every day wear. And the good news is that it’s actually pretty easy to recreate in real life. The creators of Frozen actually brought in a famous hair designer to help design Elsa’s now famous hairdo. Follow the steps in this hair tutorial and within 10 minutes, you’ll be rocking Elsa’s coronation twist updo just like the Snow Queen herself. For a video tutorial of Elsa’s braid, click here or scroll down to the bottom of this post.
Materials:
- Fine-tooth comb
- Clear hair ties
- Hair spray
- Bobby pins
- Little blue ribbon (optional)
- Anna’s gold tiara from the Disney Store (optional)
**Note: Here in this video and photos, I wasn’t using a mirror where I could see the back, so the back doesn’t look as perfect as it would be if I were looking into a few mirrors that let me see all angles. **
Here’s the video tutorial. For full step-by-step tutorial, keep reading!
Prep
 This hair style can be done on both clean and “dirty” hair. (meaning hair that hasn’t been washed that day). For best results, do this look on two- or three-day hair. Also, this hair style works best for people with long hair since Elsa has very long hair herself. You can still recreate the look with shorter hair, but may need more bobby pins to secure it in place and might not have enough hair to do the bun twist at the back.
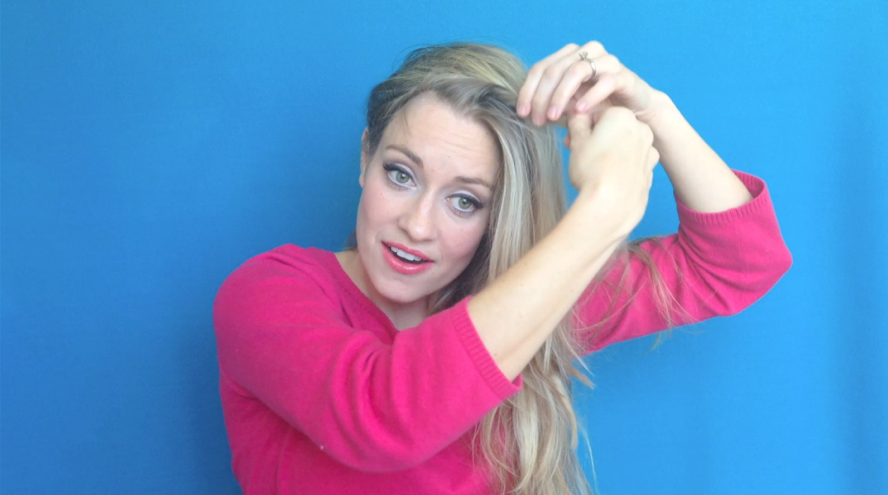
Step 1: Volumize
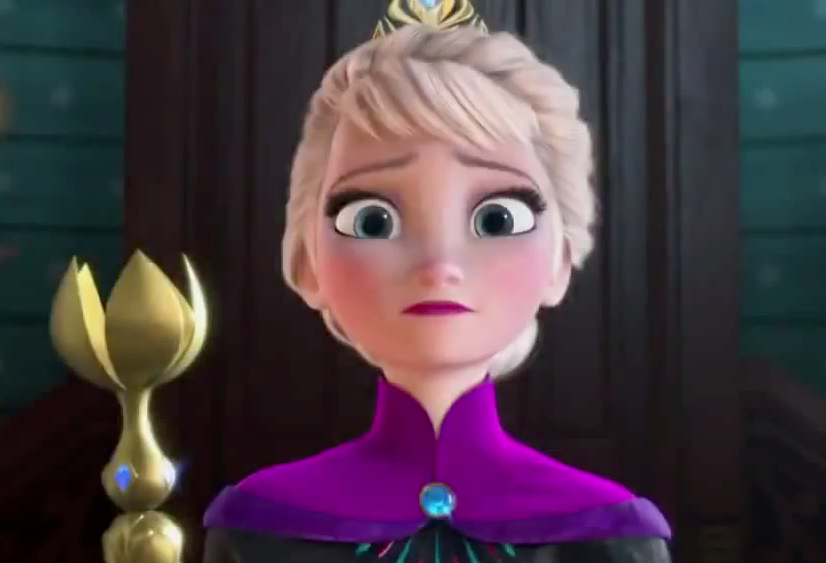
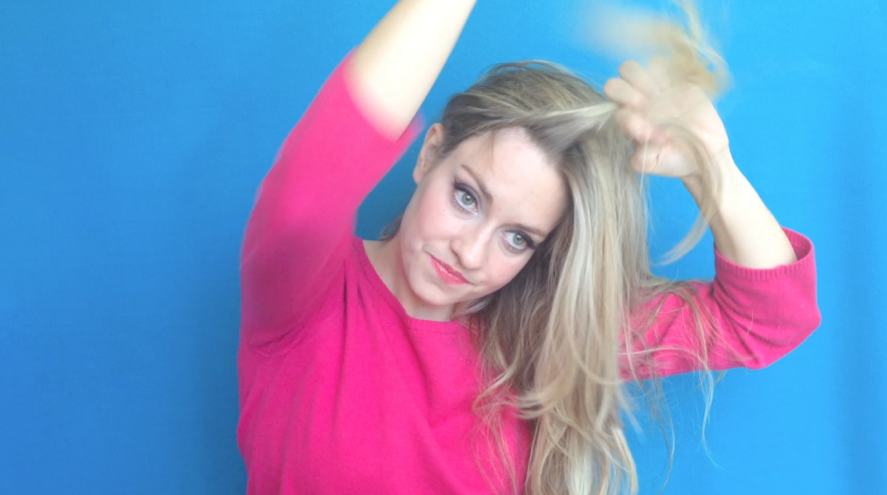
Elsa is a cartoon character, so no wonder her hair looks larger than life. The top part of Elsa’s hair (the part not in the twist) is very rounded and almost poofy. We need to volumize and tease the hair so that it has that cartoon volume.

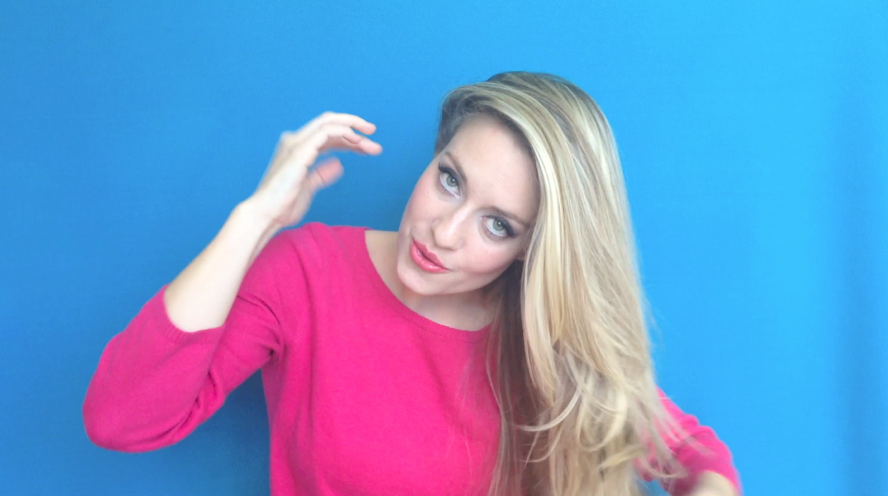
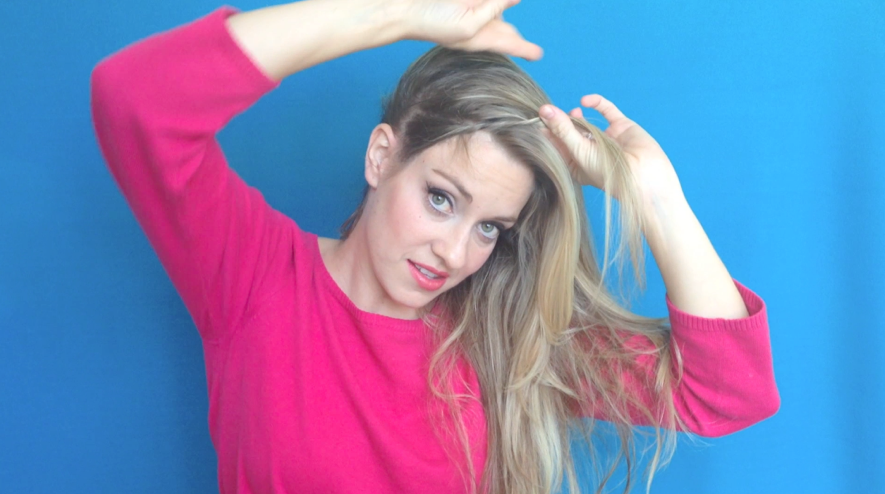
Elsa’s twist also doesn’t have a visible part. Her hair is completely swept over from one side to the other. So take your hair and position it so it falls over the top of your head and all lands on the other side. You might have to tilt you head to the side on which you want it to fall. Keep combing through your hair so that the hair gets used to laying this way.
Then section off the furthest side (away from where all the hair is falling) making a part from the front of your head to the back. Take this section and start to tease it. Once that section is done, let it it fall and begin to tease another section of hair. Continue this until your entire head is teased.
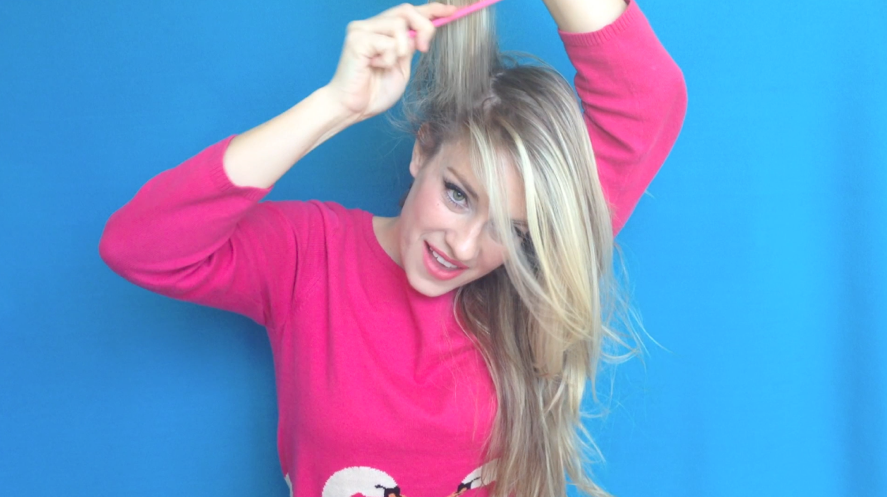
Also, the hair on the back of Elsa’s hair lays almost horizontal (going from one ear to another). Section the back of your hair into vertical strips, then tease your hair in the back so that it lays this way as well.
Once you’re done with all that teasing, move the all the hair back to the one side. Then take the comb and comb out the top of the hair so that it’s smooth and not ratty.

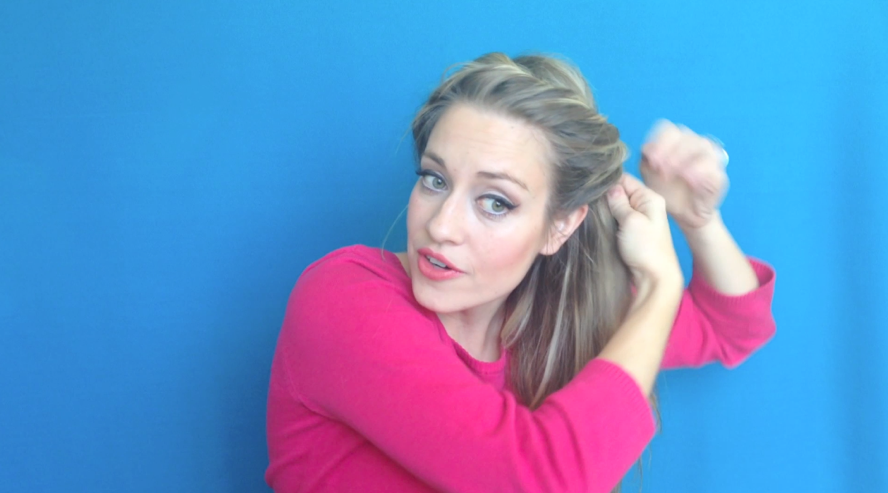
Step 2: Twist
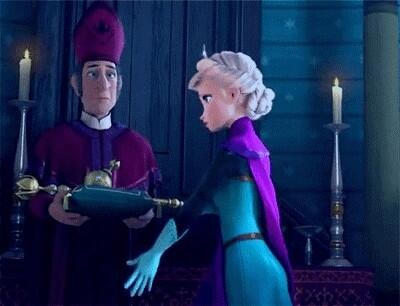
If you have bangs, likes Elsa, pull those out and pin them aside using a bobby pin. We don’t want the bangs to get in the twist. The twist is actually a simple twist, but it does take a while to get right. Elsa’s twist start near the top side of her head, but in real life, it works better if you start lower by your ears.
Take a small piece by your ear and start twisting. Make sure you are twisting the hair up and toward the back of your head. Twist this piece so the majority of it is twisted. Also, make sure the piece is already facing the direction toward the top of your head. The hair will lay better if it’s twisted as closely to where it is ultimately going to fall.
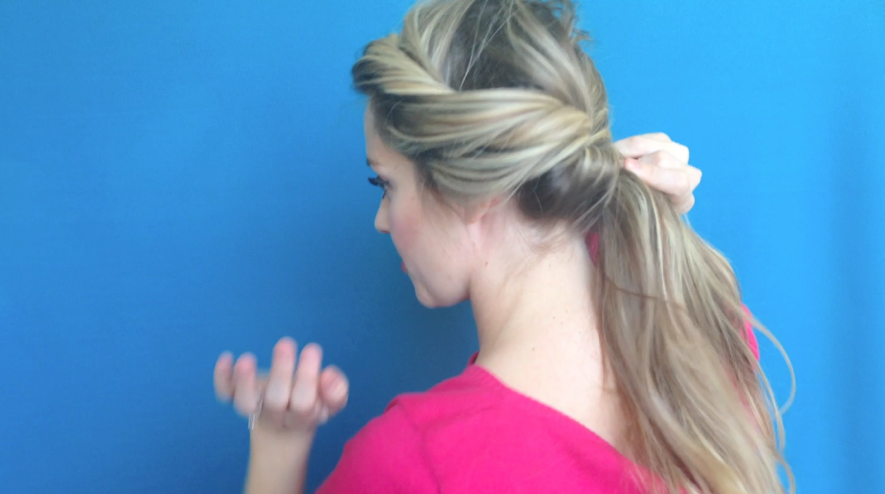
Next take the next section of hair (a bigger piece that you started). You are going to twist this piece and then twist it into the twist that you just started. Make sure that the two pieces don’t look like two separate twisted sections. Elsa’s twist looks almost like one fluid twist, so keep trying and twisting until the the original piece and this new added piece look flush. Also, make sure that the new pieces that some of them are coming from the side of your head (by the ear where you started). We want these pieces to be incorporated into the front parts of the twist. So for every new section you grab and add, make sure some of them are coming all the way from the side, so that way we achieve that smooth, poofy look.
Keep adding bigger and bigger sections of hair and twisted. If you mess up, just untwist a little bit and start over. This style is really forgiving, so you can keep twisting and untwisting until you get it right. Try to keep the twist as close to the front of your head as possible. (Below, I pulled it a little too far away from my ear).
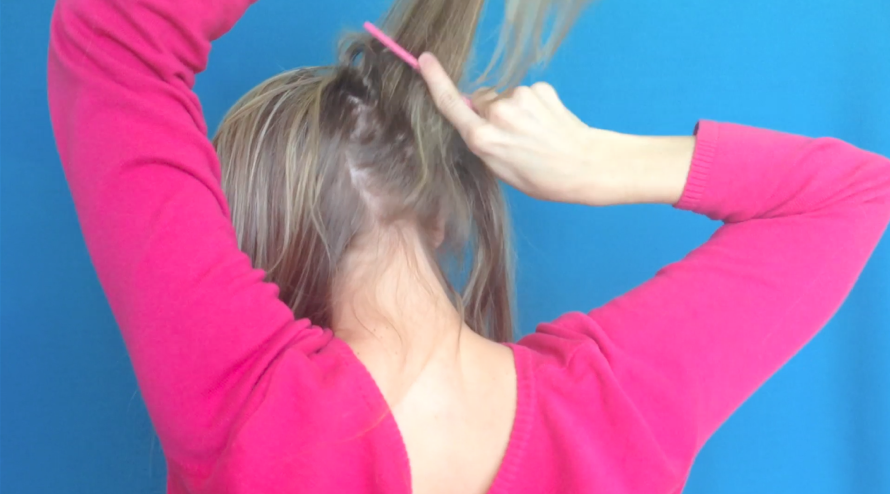
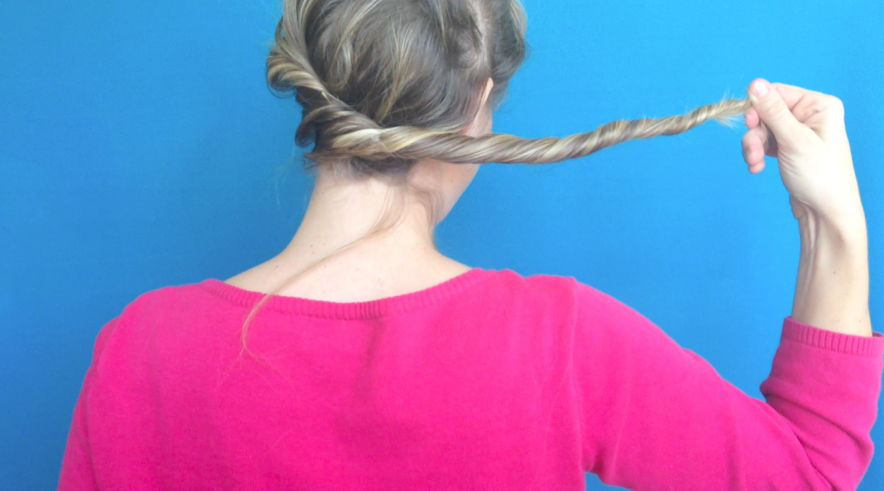
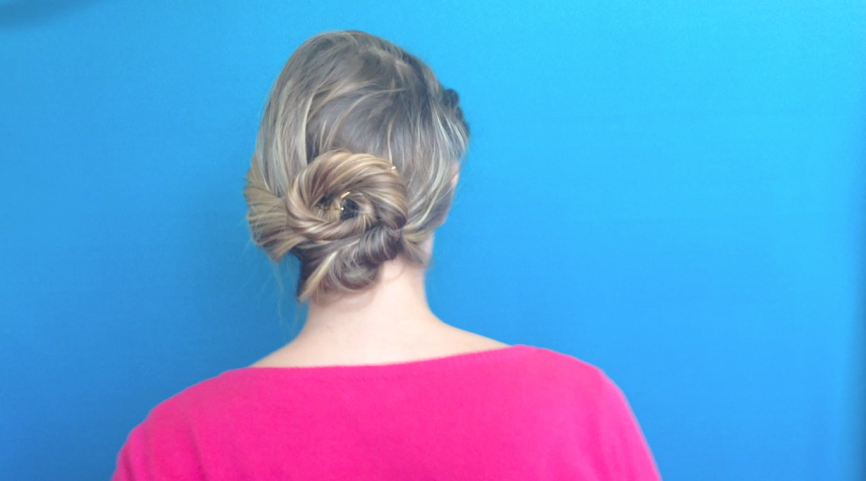
Keep twisting and adding pieces until all hair is twisted and the twist ends at the nape of your neck. Remember, when twisting these last few sections, that you want to pull hair over all the way from the other side so that it curves around the back of your head and twists into the hairdo. (I didn’t quite do it that well here because I didn’t have a mirror to see the back of my head. Sorry!) Just remember, for the back pieces of hair, comb those over so they fall over to the other side of the head and try to make them stay as flat as possible.
Then twist very tightly and secure the twist with a clear hair tie at the nape of the neck. You also should secure this twist in place so that it does move. Take a bobby pin and pin the twist in place near where the hair tie is.
Remember, Elsa’s hair and twist is thick. If you don’t have thick hair, loosen the twist by letting go of the twist a little bit and pushing the twist back toward the ear where you started (see video for demonstration). Basically, just don’t twist it super tight. Make it a bit looser.
Now we are onto our second twist. Continue to twist the hair in the same direction as before. Twist the entire section of hair, all the way down to the end. Take a hair tie and secure this second twist in place. Continue to hold the twist taut (it will come untwisted if you let go).
Step 3: Twisted Bun
Now we move onto the twisted bun. Take this second twisted section and spiral it up and around, forming a circle. Elsa’s twisted bun has two spirals, but depending on the length of your hair, you might only be able to get one circle or two. Once you reach the middle of the spiral and the end of your hair, tuck the end underneath the big bun. Then secure this middle section in place using a bobby pin. After this, take a bobby pin to secure the top of the bun to your head so that it doesn’t flop over and move around. Use as many bobby pins as needed, but for this step, I just needed two.

Elsa’s bun sits a bit lower on her head than I did here. I don’t have as much (or as thick of ) hair as she does, so I needed to set my bun a little higher.
Optional: Elsa’s bun has a little blue ribbon running through it. If you want to add this, before you twist the second section of hair, just add some blue ribbon into the hair tie. Then twist the second section of hair and proceed with the style as normal.

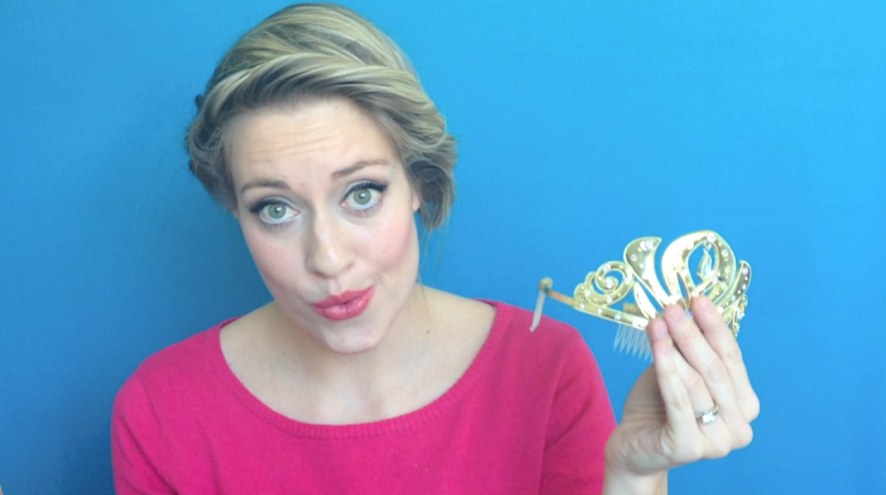
Step 3: Crown (optional)
Now a coronation wouldn’t be complete without a crown! I bought an official Disney Frozen crown at the Disney Store. Technically, this is Anna’s crown. Elsa’s crown is silver, even though she clearly wears a gold one in the movie (explain that to me).
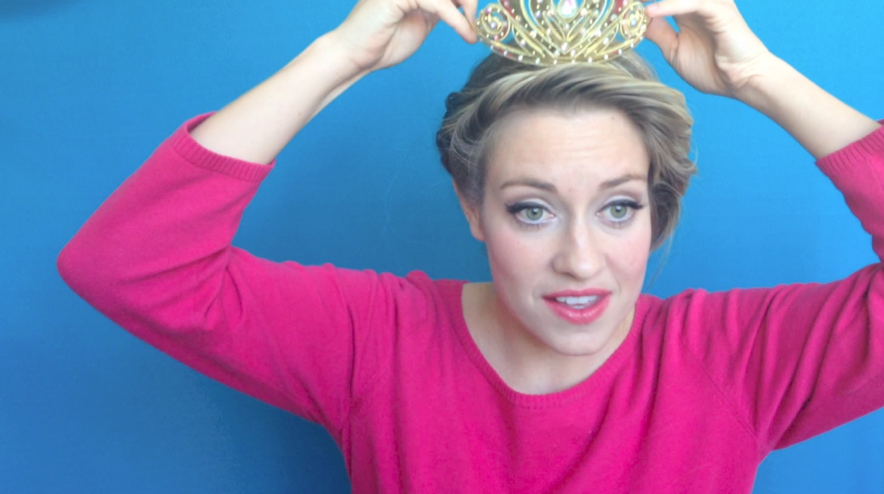
Take the crown and put the front of it behind the top part of your twist. Make sure that the ends of the crown are neatly tucked behind your ears and behind the twist.
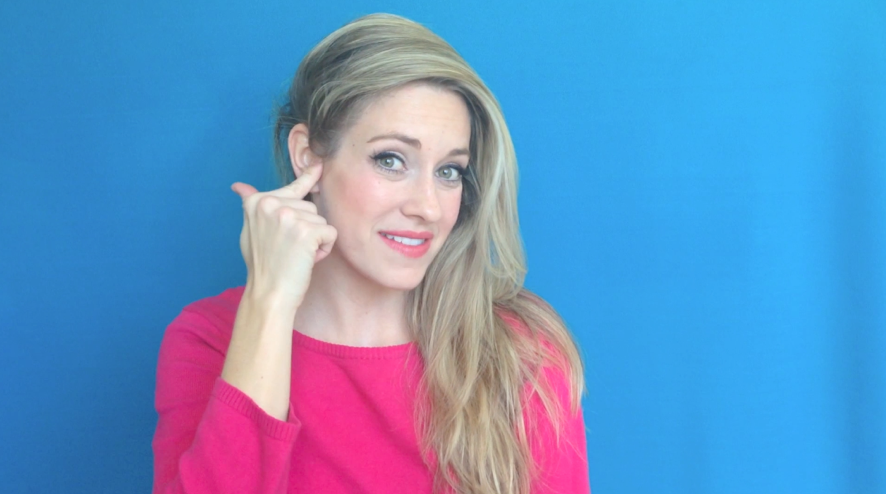
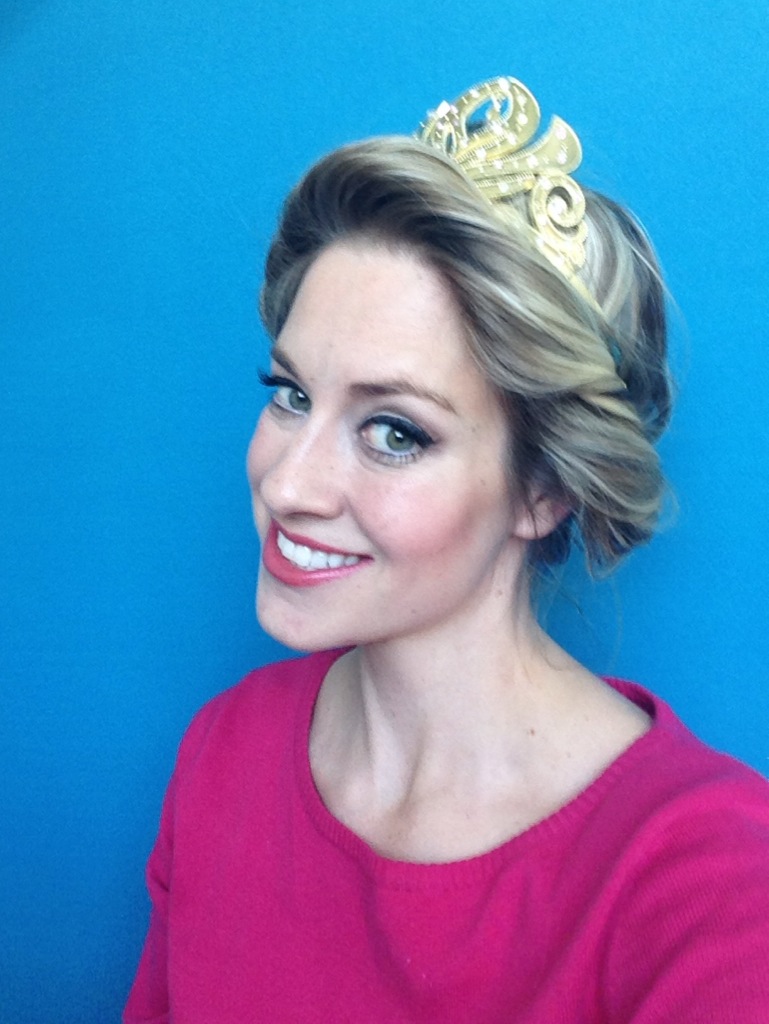
The whole look should take less than 10 minutes depending on how fast you are. It’s actually pretty easy and looks glamorous in person. I’ve worn this coronation updo a few times and every time, I get a lot of compliments on it with people saying how much they love how full it is. It also makes me feel a bit classier and more regal–especially when I wear it with the crown.
Hope you guys liked this tutorial! Happy styling!