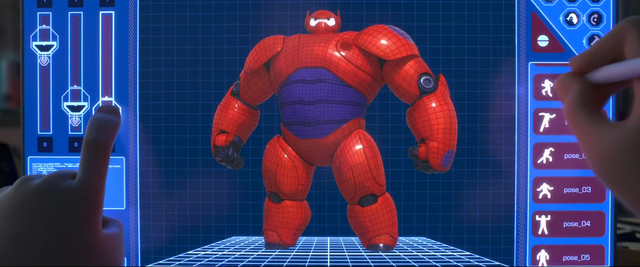
Halloween is upon us and we are excited about Big Hero 6! This year as trick or treaters are coming around let them know your excitement by having Baymax greet them at the door!
In this tutorial, we are going to show how to make two versions of Baymax: one with his white inflatable baloon body and one with his armor.
Step 1: Gather the supplies
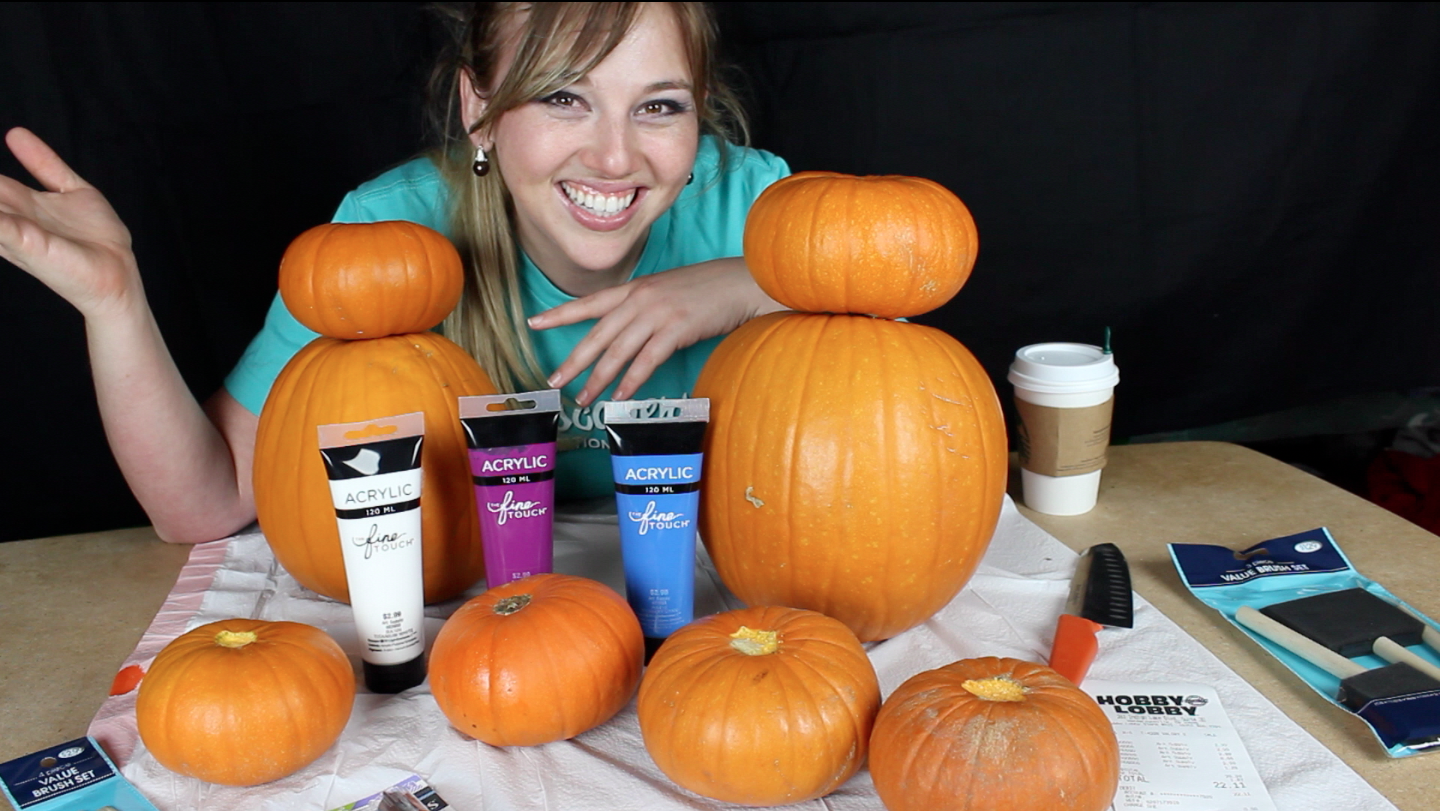
I’m making two Baymax pumpkins here. For each Baymax, you will need four pumpkins: three baby ones of equal size and one big pumpkin (if you want to go even bigger… give it a try!).
White Balloon Baymax:
- Carving knife
- White acrylic paint
- Sponge brush
- Black paint marker
- Blow dryer
- Chopsticks (optional)
Armored Baymax add:
- Red and purple acrylic paint (Pictured with white, purple, and blue)
- Smaller brushes (Helpful but not mandatory)
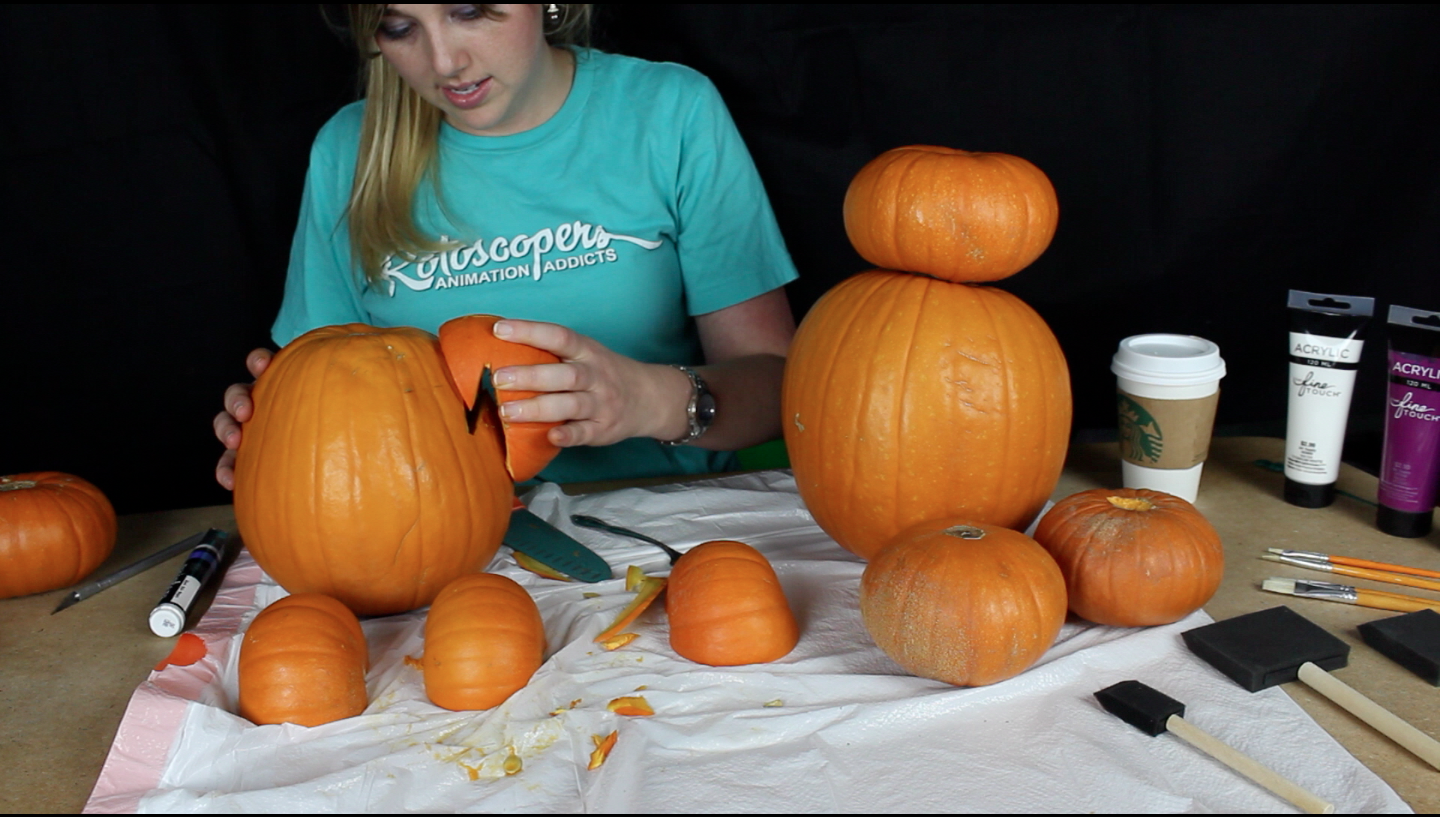
Step 2: Make legs and a head

Making the head is easy. Basically, you find a small baby pumpkin and plop it on the big pumpkin. You can secure it with some chopsticks by inserting half the chopstick through the body and securing the head on the other side.
For the legs, cut one little pumpkin in half. You can just place it next to the body or your can secure it to the body. If you want the legs to be even closer to the body, cut part of the backside off and adhere it to the body using chopsticks or a glue gun.
Step 3: Now create arms!
Attach the arms by cutting a v-shaped wedge out of the arm and another corresponding v-shaped wedge out of the body the body. But you can also can also round in the arms and use chopsticks to hang them on the body.
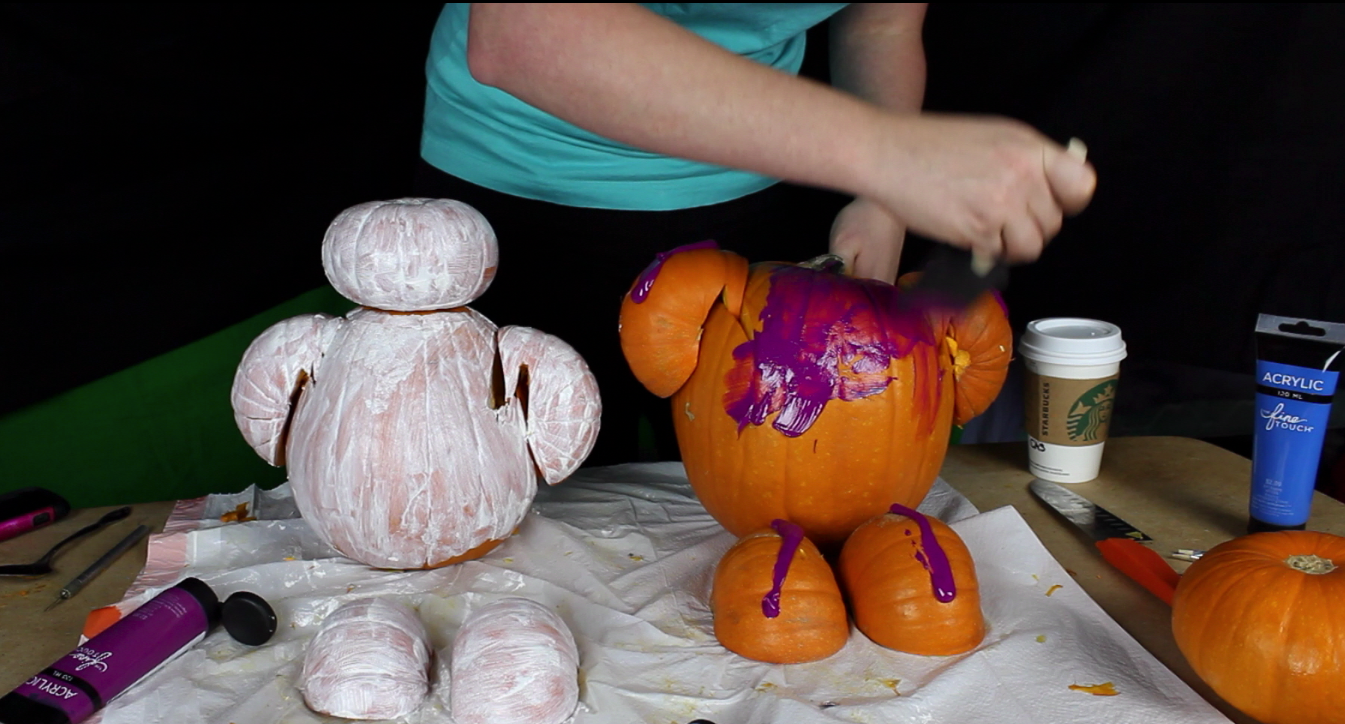
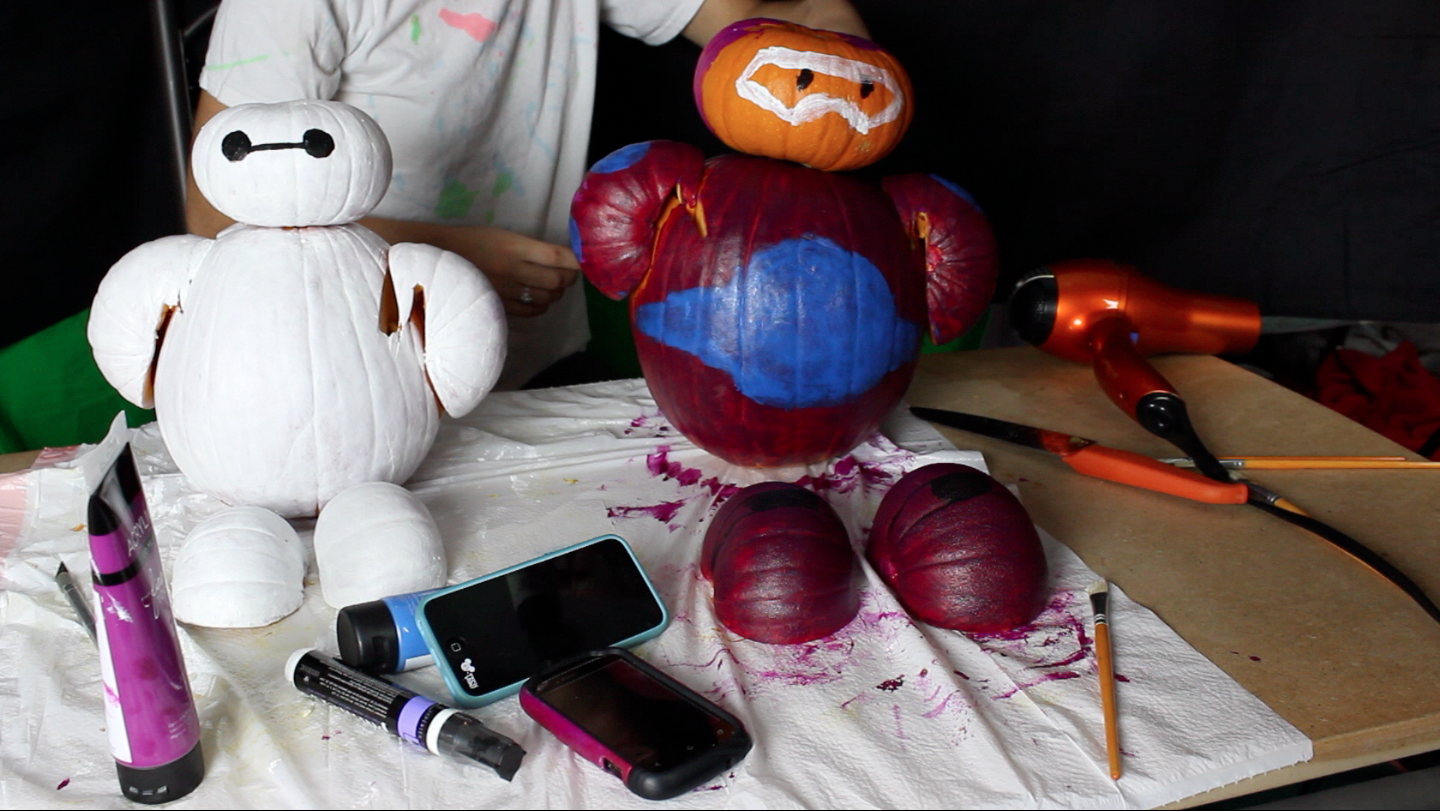
Step 4: Paint!
The white paint takes a lot of coats before it looks good. For the white Baymax, use three or four coats for the white paint over all the pumpkins. For the armored Baymax, use four coats of purple pain. For a really seamless look, paint the inside edge of the cut parts of the pumpkin. In between coats, I used the common household blow drier to speed up the drying process.
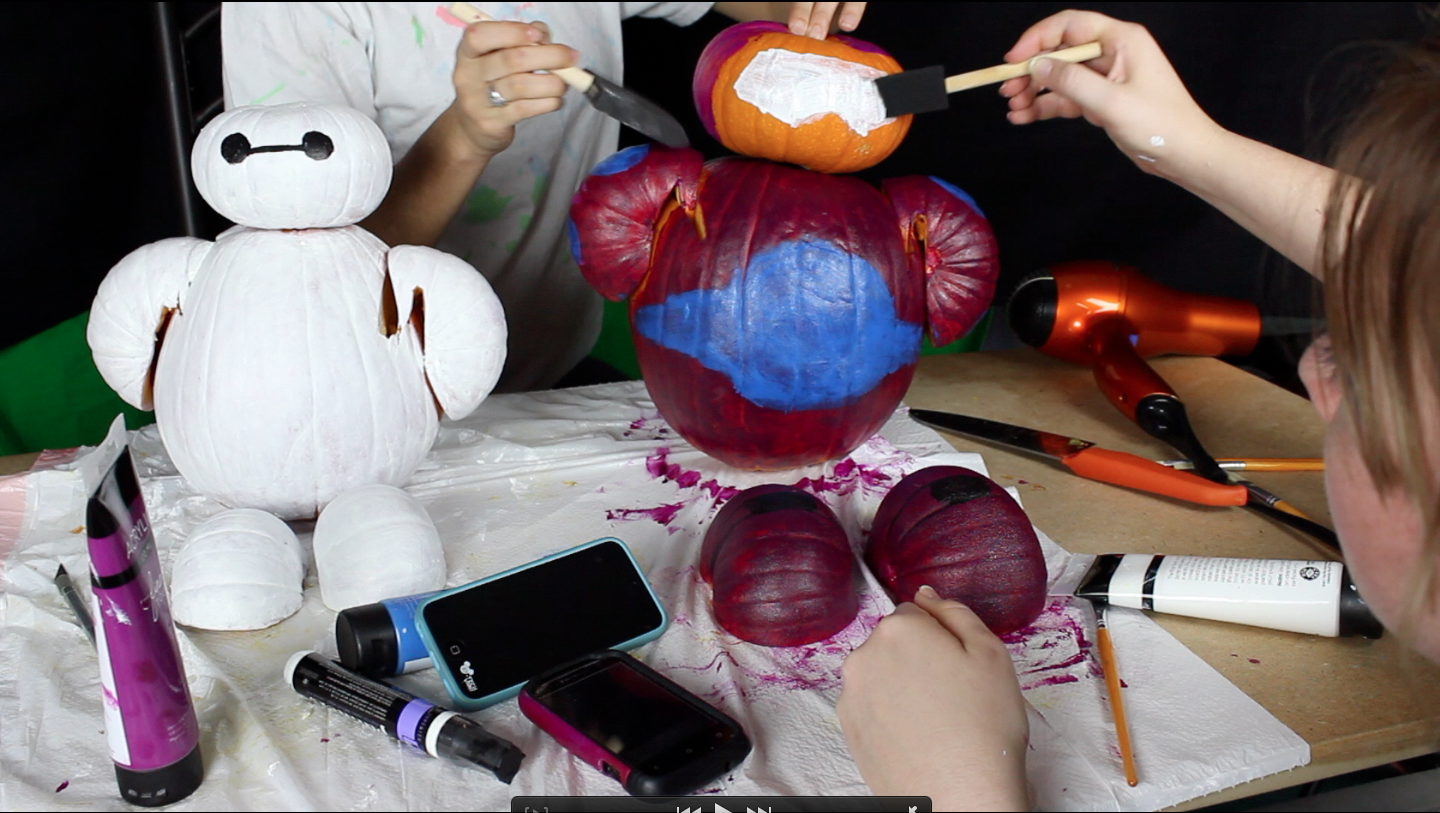
After the base colors were clean and even enough for me I went on to add the details like eyes and armor details. For the white Baymax, use the black paint pen to paint two black circles on his face. Connect the dots with a straight black line.
As you can see above in Baymax’s armor, he has two main colors: red and purple. He has a purple belly piece and then red armor overlaying that. Then on his arms and hands, he has purple spots. So when painting, paint the purple first on the belly, outling the unique belt-list shape. Then paint red around it. You can do the purple dots on the arms last overtop the red. Also when painting the helmet, draw in the dots for eyes first (even though you are going to pain over them with white) to use as a guide to draw the outline of the mask.
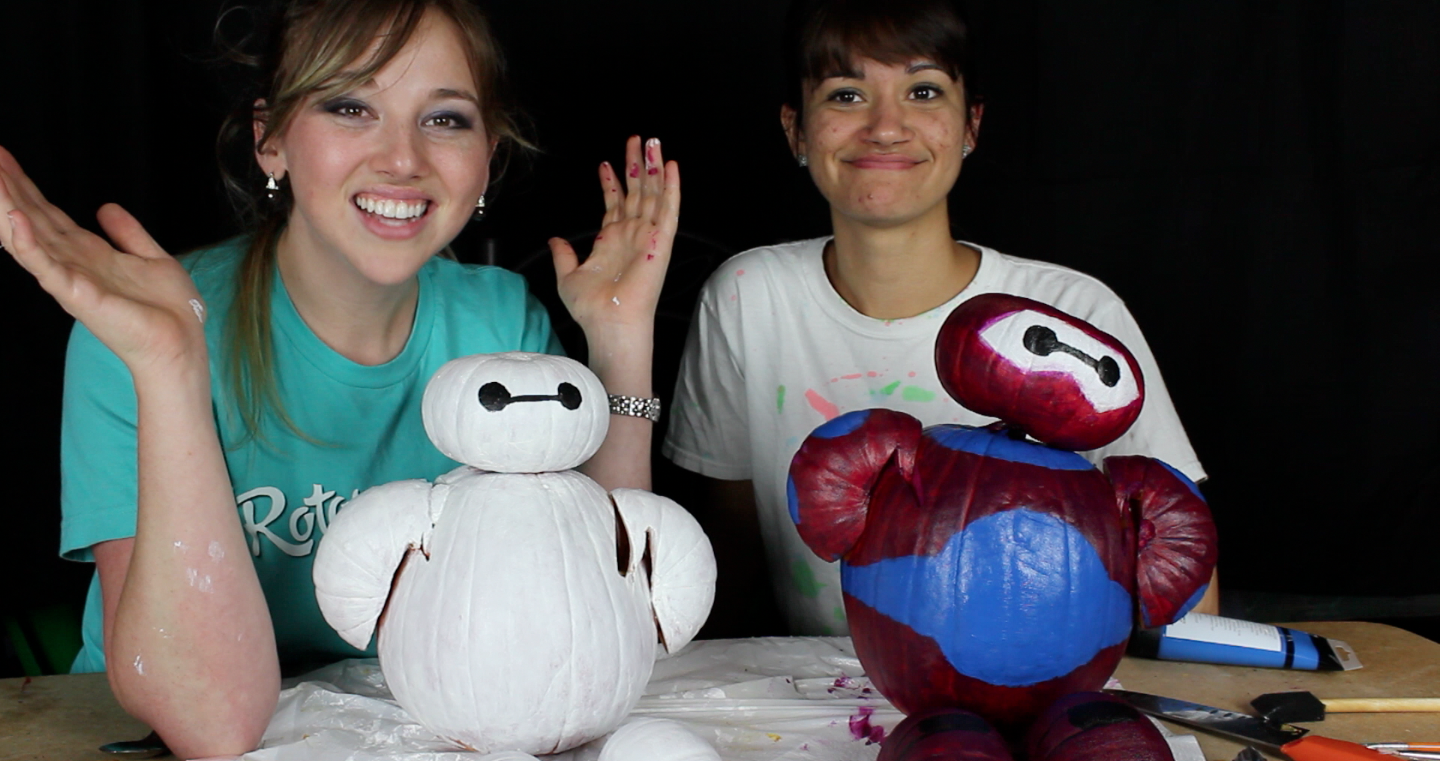
Next, color in the mask with white paint to create a good base and then redraw the eyes with black for a cleaner look.
This was a long process and so much more fun to do it with a friend. Special thanks to my friend Adrianne for being my lovely assistant! Happy Halloween!
Watch the full tutorial below:

